Customize Your No-Bake Peanut Butter Balls: Tips & Variations
Few treats evoke the comfort and joy of childhood quite like a classic, homemade sweet. And when it comes to simplicity meeting irresistible flavor, the no-bake peanut butter ball reigns supreme. This beloved confection, often a staple of holiday cookie platters and celebratory gatherings, is far more than just a simple snack; it's a canvas for culinary creativity. While the basic
peanut butter balls recipe is wonderfully straightforward, the true magic lies in the endless possibilities for customization. Whether you're aiming for a sophisticated dessert or a fun, kid-friendly treat, mastering these tips and variations will elevate your peanut butter balls from delicious to absolutely unforgettable.
The Enduring Appeal of No-Bake Peanut Butter Balls
For many, the sight and taste of a perfectly crafted peanut butter ball instantly transport them back to cherished family traditions. Growing up, these delectable bites were synonymous with festive seasons, alongside elaborately decorated sugar cookies. What might seem like a labor-intensive endeavor, with countless balls to roll and dip, quickly reveals itself as one of the most genius and surprisingly easy holiday treats. Their charm lies not only in their nostalgic appeal but also in their effortless preparation. Requiring no oven time, they free up your kitchen for other culinary adventures, making them an ideal low-lift addition to any dessert spread or gift box.
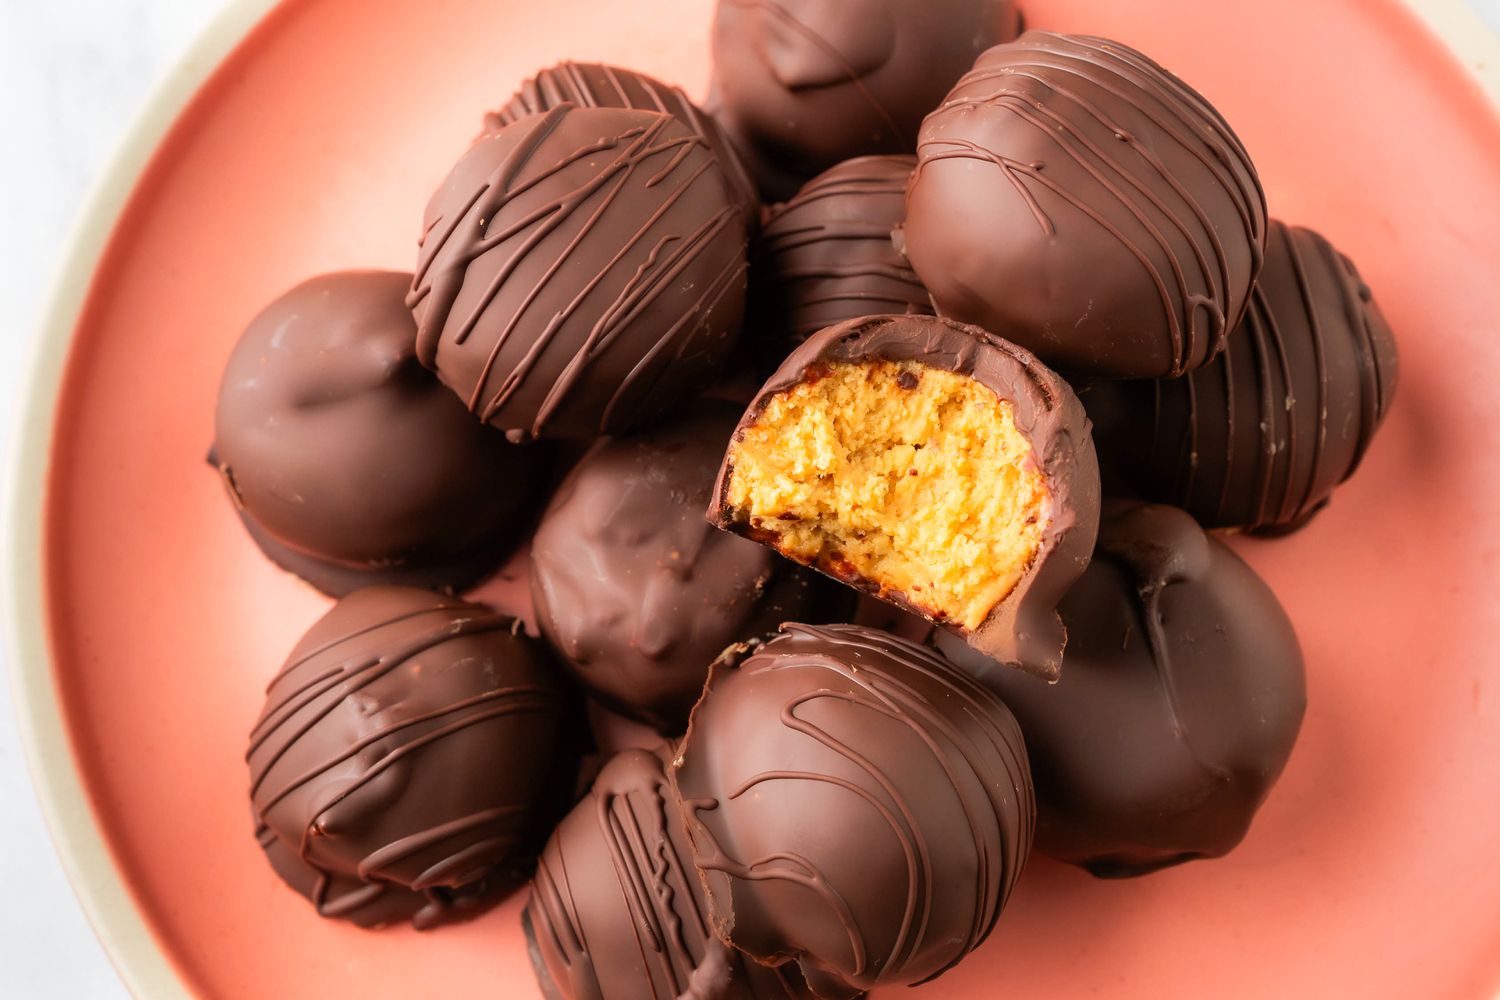
Often likened to the popular Buckeyes, these fully chocolate-covered delights distinguish themselves with a slightly different composition and a melt-in-your-mouth texture that many argue surpasses their partial-chocolate counterparts. They embody the quintessential chocolate and peanut butter pairing, a combination so universally adored it rivals the likes of famous candy cups but in a delightful, bite-sized truffle form. The core of this incredible
peanut butter balls recipe is its simplicity, built upon just a handful of readily available ingredients, promising an irresistible treat every single time.
Mastering the Foundation: Essential Tips for Your Peanut Butter Balls Recipe
Before diving into the exciting world of customization, it’s crucial to lay a solid foundation. The success of your peanut butter balls hinges on a few key choices and techniques that ensure that perfect, smooth, and satisfying texture.
Choosing the Right Peanut Butter
This might seem obvious, but the type of peanut butter you select profoundly impacts the final texture of your balls. For the classic, smooth, and dense consistency that makes these treats so addictive, stick with
creamy, no-stir peanut butter. Brands like Jif or Skippy are excellent choices. Their consistent emulsification ensures a uniform mixture that rolls beautifully. Avoid natural peanut butter for this specific recipe. While delicious in its own right, natural peanut butter tends to separate its oils, resulting in a crumbly mixture that's difficult to form and lacks the desired smooth mouthfeel. The goal here is pure, unadulterated creamy bliss.
Achieving the Perfect Consistency for Rolling
The ideal peanut butter mixture should be pliable enough to roll into balls without being overly sticky or crumbly. After combining your peanut butter, powdered sugar, and vanilla, assess its texture.
* **If the mixture is too crumbly:** Don't despair! A tablespoon or two more of creamy peanut butter will typically bind it together. Add gradually until it reaches a workable consistency.
* **If the mixture is too sticky:** A little extra powdered sugar, added incrementally, will help firm it up.
A well-balanced mixture should feel like dense dough, easily rolled between your palms. For uniform sizing, consider using a small cookie scoop before hand-rolling each ball. Chilling the mixture briefly before rolling can also make it easier to handle.
The Role of Vanilla
Though a small amount, vanilla extract is a quiet hero in this
peanut butter balls recipe. It doesn't scream "vanilla" but rather enhances and rounds out the rich flavors of both the peanut butter and chocolate, adding a subtle depth that makes the treats truly gourmet. Don't skip it!
For more in-depth guidance on the foundational ingredients that make these treats so special, consider exploring resources on
Ingredient No-Bake Peanut Butter Balls for Easy Holidays.
Unleash Your Creativity: Customizing Your Peanut Butter Balls Recipe
Here's where the fun truly begins. While the classic chocolate-covered peanut butter ball is undeniably delicious, customizing them allows you to tailor them to any occasion, palate, or aesthetic.
Dipping Chocolate Choices
The chocolate coating is half the experience, and you have a world of options:
*
Semi-Sweet Chocolate: A popular choice, providing a balanced sweetness that complements the peanut butter. Melting chopped semi-sweet chocolate bars often yields a smoother, glossier finish than chips, though chips can be used.
*
Dark or Bittersweet Chocolate: For those who prefer a less sweet, more intense chocolate experience. This creates a sophisticated contrast with the creamy, sweet peanut butter filling.
*
Milk Chocolate: Ideal for a sweeter, creamier, and more kid-friendly option, reminiscent of a classic candy bar.
*
White Chocolate: A fantastic choice for both flavor and visual appeal. It can be left plain or easily colored with oil-based food coloring for festive themes (e.g., green for St. Patrick's Day, red for Christmas).
*
Candy Melts or Almond Bark: These are incredibly easy to work with, melting smoothly and setting quickly without needing tempering, making them perfect for beginners or for vibrant, consistent colors.
External Adornments for Visual Appeal and Texture
Once dipped, the chocolate is a perfect canvas for external decorations:
*
Sprinkles: Add immediately after dipping while the chocolate is still wet for a festive burst of color. Choose holiday-themed sprinkles, classic rainbow, or elegant nonpareils.
*
Chopped Nuts: Finely chopped peanuts, pecans, or walnuts sprinkled on top add a delightful crunch and extra nutty flavor.
*
Sea Salt Flakes: A light dusting of flaky sea salt creates a sophisticated sweet-and-salty contrast that elevates the flavor profile significantly.
*
Coconut Flakes: Toasted or untoasted, coconut adds a tropical twist and appealing texture.
*
Drizzles: After the initial chocolate layer has set, melt a contrasting chocolate (e.g., white chocolate over dark, or dark over milk) and drizzle it artfully over the balls for an elegant finish. A squeeze bottle or a fork can create beautiful patterns.
*
Crushed Candies: For seasonal fun, try crushed peppermints for a holiday touch, or toffee bits for a buttery crunch.
Internal Mix-ins for the Filling
Don't stop at the outside! The peanut butter filling itself can be customized for added flavor and texture:
*
Nuts: Finely chopped roasted peanuts or pecans can be mixed directly into the peanut butter mixture for an extra layer of crunch and flavor.
*
Crispy Cereal: A classic addition! Rice Krispies cereal or even crushed cornflakes stirred into the filling provides a wonderful, light crispiness.
*
Mini Chocolate Chips: Introduce tiny chocolate chips into the filling for bursts of chocolatey goodness from within.
*
Espresso Powder: A tiny bit of instant espresso powder can deepen the chocolate flavor and add a subtle coffee note without making the balls taste like coffee.
*
Spices: For a fall-themed treat, a pinch of cinnamon or pumpkin pie spice could be blended into the peanut butter mixture.
The possibilities are truly endless, allowing each batch of your
Irresistible No-Bake Peanut Butter Balls: Like Reese's at Home to be a unique masterpiece.
Step-by-Step for Perfect Dipping & Setting
Even with all the exciting customization options, proper dipping and setting techniques are crucial for a professional-looking finish.
Melting Your Chocolate
Whether you opt for chocolate chips, chopped bars, or candy melts, proper melting is key. Use a double boiler for gentle, even melting, or a microwave in short 20-30 second bursts, stirring well between each interval, to prevent burning. Ensure your chocolate is smooth and fluid, but not too hot, which can cause it to seize or become too thin.
Dipping Technique
For a clean coating, insert a toothpick or a candy dipping fork into a peanut butter ball. Dip the ball completely into the melted chocolate, twirling gently to ensure full coverage. Tap the fork or toothpick gently against the edge of the bowl to allow excess chocolate to drip off. This prevents puddles at the base of your finished treats.
Setting and Storage
Carefully transfer the dipped balls to a sheet of parchment paper or wax paper. This prevents sticking as the chocolate sets. For a quick set, you can place the trays in the refrigerator for 15-30 minutes. Once set, store your finished peanut butter balls in an airtight container in the refrigerator. They typically last for a week or more, though they rarely stick around that long! For longer storage, they can also be frozen for several months, making them excellent make-ahead gifts or holiday treats.
There’s a profound joy in creating something delicious with your own hands, especially when it’s as universally loved as the no-bake peanut butter ball. This versatile confection is a testament to how simple ingredients can yield extraordinary results, especially when paired with a little creativity. By exploring different chocolates, playful sprinkles, crunchy add-ins, and even internal flavor boosts, you can transform a classic
peanut butter balls recipe into a personalized signature treat for any season or celebration. So, gather your ingredients, unleash your imagination, and enjoy the delicious journey of customizing your very own batch of irresistible peanut butter balls.